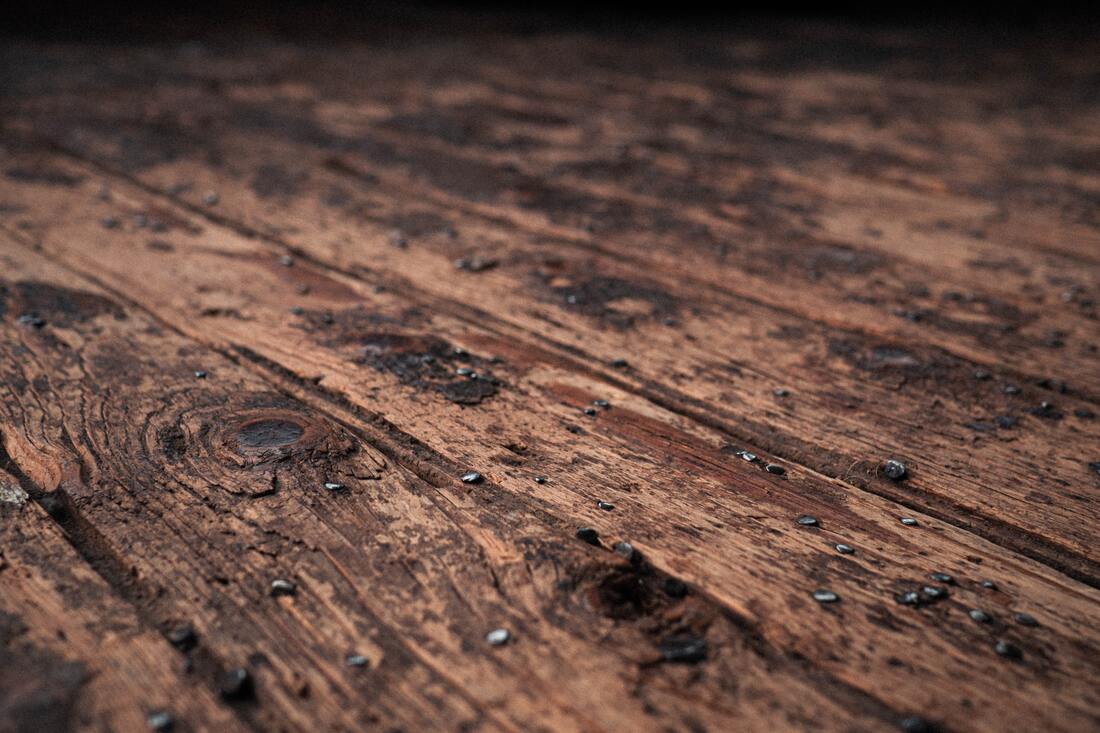
 Hardwood flooring is one of the most resistant to wear types of flooring that can be used for many years when taken care of properly. Its main advantage is the fact that it can be refinished several times, thus being completely restored. However, at some point the time will come and our hardwood flooring will be in need of replacement. Deep cracks and swelling due to moisture absorption are one of the main reasons why homeowners decide to completely remove the flooring and install a new one. In this article you will learn how to remove your old wooden floors when they are too damaged to be refinished.
The process of removing the old hardwood flooring requires certain tools, the choice of which depends on the chosen method of dismantling. The tools you may need are a chisel, which will help you remove individual parts of the floor, a steady nail claw, if you need to remove nails, a circular saw to help you cut through parts of the flooring, a mallet, a construction blow dryer, if the wooden boards are glued, and a spatula, which is used to remove glue and debris. Experts’ advice is to work with power tools. This will make the process faster and the results much better. Hardwood floors are the most difficult type of floors to disassemble. Even contractors with many years of experience find it hard to dismantle a hardwood floor and keep the planks intact. It is unrealistic and almost impossible. Therefore, homeowners strive to do this task with minimal losses. Before completely dismantling the entire flooring, consider refinishing. Removing hardwood floors and replacing them with new ones is quite expensive and sometimes can be avoided. First of all, you will have to knock the hardwood floor over the entire surface with a wooden hammer or a mallet, because somewhere there is a gap under one or a few of the boards. When you find the right place, it is much easier to start dismantling the floor from there. Handle the board with a wide chisel. If the flooring is glued, use a construction blow dryer to heat the glue. This will make removing the boards easier. Scissors or a crowbar may come in handy because they will help you split the individual pieces from one another and pick them up. You have to do this carefully in order to protect the material. Hardwood boards can be very fragile and with a careless movement can be easily broken. After all the boards have been removed, it is time for cleaning the base from glue and other adhesives. If the area is small, the glue can be removed from the plywood with the help of a wide chisel and a hammer. However, if the room is bigger than 20 squares, it is better to use an angle grinder as a sander, on which there is a fiber disk. This is the easiest way to remove excess material at a low cost. In this process there will be a lot of dust and fine particles in the room. Therefore, experts’ recommendation is to wear goggles and a dust mask to protect your eyes and respiratory tract. If after dismantling the boards it is not possible to remove all adhesives from the plywood, it is better to install a new one in order for the new hardwood boards to be able to be arranged tighter and lay evenly on the surface. If there is concrete underneath the flooring, before assembling the new boards, it is best to use a self-leveling compound to even out the surface. The bottom line is that removing hardwood flooring is a difficult process, but it is quite possible to do it yourself when you have the motivation, responsibility, and the right approach. However, remember that there is no need to hurry replacing your flooring if the damage is too little and there is a possibility for refinishing. Photo by Sirisvisual on Unsplash
0 Comments
|
Archives |
 RSS Feed
